Table of Contents
Images
Cascade Server makes working with images for your website easier with an internal image editor. Images must be loaded into Cascade Server prior to being added to a page.
Uploading Images into Cascade Server
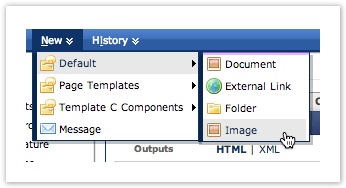
- lick on New > Default > Image to upload an image into Cascade Server.
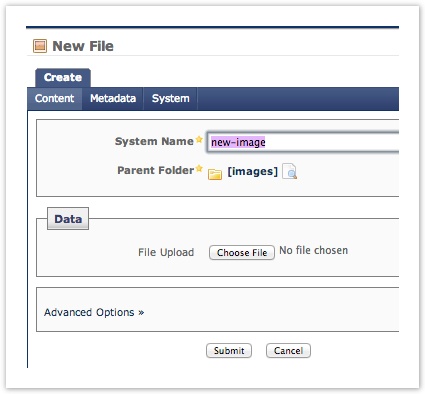
- When the New File screen loads, give the image a name and select the image file from your computer to upload into Cascade Server.
- Input the correct data into the remaining fields to give the image a name and location.
- System Name – Image name. You may update the image name if needed. Remember, do not use any spaces, special characters, or uppercase letters. If you update the system name be sure to include the correct file extension (filename.pdf, anotherfile.doc, etc.).
- Parent Folder – Defined at the system level and should not be modified.
- File Upload – Click Choose File to select the image from your computer. Files must be smaller than 1MB. Files that cannot be optimized to less than 1MB may be placed on the Large File (Catcher) Server instead. Contact web@sandiego.edu if you need assistance with large files.
- After the selected image finishes uploading, the image will display in the New File Window. Basic edits such as rotation, cropping, and resizing can be made with the Cascade Server Image Editor.
- If no edits are needed, click Submit to complete the upload.
Using the Cascade Server Image Editor
Use the menu items listed in the Edit Image pane to manipulate the image as desired. Changes will appear in real-time as they are made.
Image Editor Reference – http://www.hannonhill.com/kb/Image-Editor/
Adding Images to a Page
- Upload your image to Cascade.
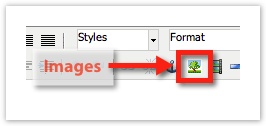
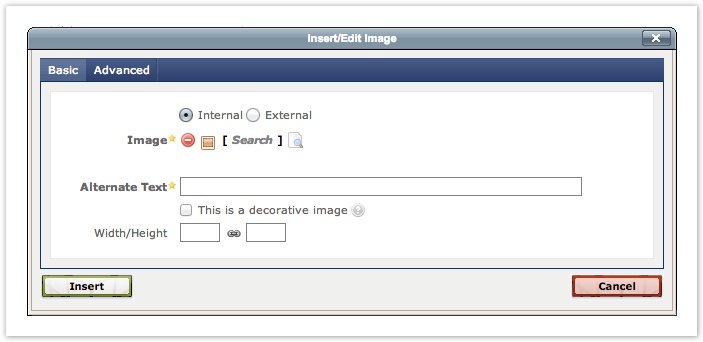
- After uploading, place the cursor where you want the image to appear and click the Insert/Edit Image button on the WYSIWYG editor menu. The Insert/Edit Image Dialog will display. Make sure to leave the selection on Internal.
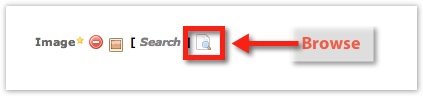
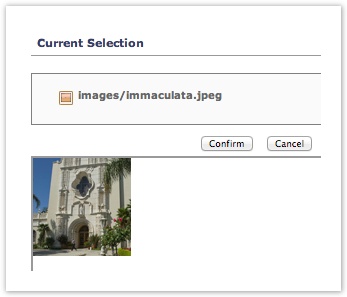
- Select the image in the Image Field. Select the image name by typing in the search box or click the Browse Icon to browse through the system to locate the image. If necessary, switch between sites in the Cascade Server to locate the image. A preview of the selected image will display.
- Fill in the remaining fields:
- Enter a short description of the image (only a few words) in the Alternate Text field. The Alternate Text is required for accessibility and is displayed in case the image cannot be displayed on the page. This text is required in order to add the image to the page. Accessibility refers to making sure individuals with disabilities, such as vision impairment, can access all elements on a web page.
- The Width/Height information will automatically populate once an image has been selected. Do not alter these values otherwise your image may not render properly.
- Click Insert to add the image.